Conducting tensile tests on distressed woven textiles can be very irritating when you follow traditional strip test procedures. You cut a strip, secure it wall-to-wall in the grip, stretch it, and, before you acquire peak load, the fabric edges have become loose or frayed. The test fails, the data is useless, and you have to prep another batch of samples.
That edge-effect problem is the main reason textile labs move away from strip tests for finished heavy fabrics and switch to the grab method. Force gets concentrated in the middle of a continuous panel while the surrounding threads try to pull back.
In this article, we will discuss thoroughly what is IS 1969-2:2010 for textiles and fabrics. We will also explore the grab test, its position in the quality control process, its step-by-step lab procedure, and the key features required to perform the test accurately.
What is IS 1969-2:2010?
IS 1969-2:2010 is the Indian Standard protocol that specifies the Grab Test method for determining the maximum force and elongation at maximum force of textile fabrics. Formulated by the Bureau of Indian Standards (BIS), this standard aligns closely with international counterparts (like ISO 13934-2) to ensure Indian manufacturers adhere to global quality benchmarks.
The core difference between this standard and a standard cut-strip test comes down to clamp geometry:
-
Strip Method: The jaws grip the entire width of your specimen.
-
Grab Method (IS 1969-2): Your fabric sample is cut 100 mm wider but the upper clamp face only grips a 25 mm section right down the middle.
Because the unclipped fabric flaps extend past the sides of the jaw, the test measures both the strength of the direct load-bearing yarns and the friction resistance from the adjacent, unclipped yarns.
Purpose and Scope of IS 1969-2:2010 in Textile & Fabrics
The purpose of IS 1969-2:2010 is to simulate localized snatching, pulling, and tearing forces on finished fabrics. It tells you how much load a material takes before bursting at a stress point, along with how far it stretches before snapping.
Where it gets used:
-
Heavy Woven Fabrics: Denim, canvas, workwear twills, and duck cloth.
-
Non-woven & Technical Goods: High-GSM filters, upholstery backings, tarpaulins, and industrial covers.
-
Mill QA: Testing raw fabric rolls coming into a garment facility to catch weak lots before cutting pattern pieces.
To execute this standard correctly, your lab needs a motor-driven universal testing machine running at a constant rate of extension (CRE). Trying to run grab tests on older hydraulic or pendulum rigs usually introduces load fluctuations, whereas a modern universal testing machine keeps the crosshead speed rock-steady throughout the pull.
IS 1969-2:2010 PDF Download
If you need the exact engineering tables, apparatus dimensions, and climate allowance charts, you can access the full IS 1969-2:2010 PDF Download directly through the official Bureau of Indian Standards (BIS) portal or authorized standard distributors to review the official text for your lab library.
IS 1969-2:2010 Procedure of Grab Test for Textile
Getting clean, repeatable data out of a grab test means taking your time with sample alignment. If your fabric is mounted even slightly crooked in the clamps, the force concentrates on one corner and skews the peak reading downwards.
Step 1: Lab Conditioning
Fabric strength changes depending on how much humidity the fibers hold. Store your cut specimens in a standard testing atmosphere ($20 \pm 2^\circ\text{C}$ and $65 \pm 4\%$ relative humidity) for at least 24 hours prior to running the crosshead.
Step 2: Specimen Preparation
-
Cut out rectangular pieces of fabric that are 100 mm wide and 150 mm long.
-
Make 5 pieces of fabric in the warp direction and another 5 pieces in the weft direction.
-
Make a light pencil mark a line on the fabric parallel with the threads in the fabric, 38mm from the longer side of the fabric. This should help you hold the piece of fabric in the right position in the clamps.
Step 3: Mounting the Sample
-
Mount the specimen in a single-column or double-column UTM machine.
-
Set the gauge length (distance between the upper and lower gripping faces) to 100 mm.
-
Ensure that your pencil line is exactly on the edge of the gripping faces of 25 mm by 25 mm on the top and bottom sides. Tighten the grips evenly so that the sample will not move when tension is applied.
Step 4: Running the Test
-
Set the crosshead speed on your UTM machine to a constant rate of 50 mm/min} (or the speed noted in your specific fabric contract).
-
Start the pull and let the machine drive the crosshead until the central core of the fabric ruptures completely.
Step 5: Reading the Break
-
Check where the break happened. If the fabric snapped right at the jaw face (a jaw break) or slid out of the grips during the pull, scratch that test off your log and run a spare specimen.
-
Record the maximum load (in Newtons or kgf) and the percentage elongation at that peak force point.
Testronix UTM Machine: Compatible with IS 1969-2:2010
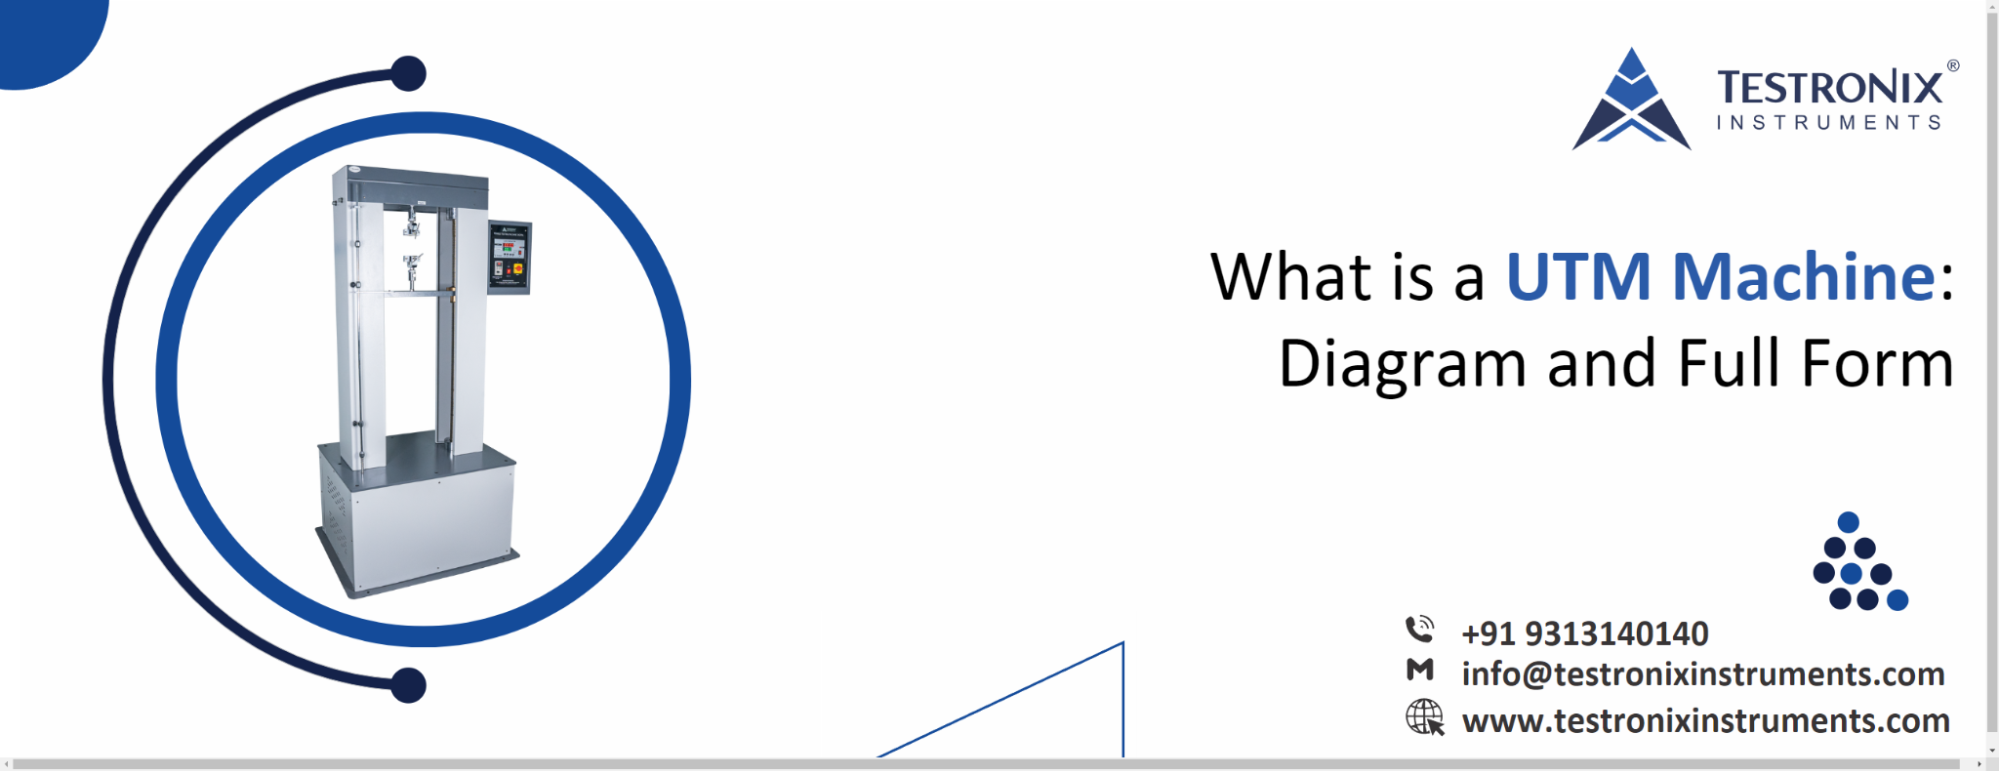
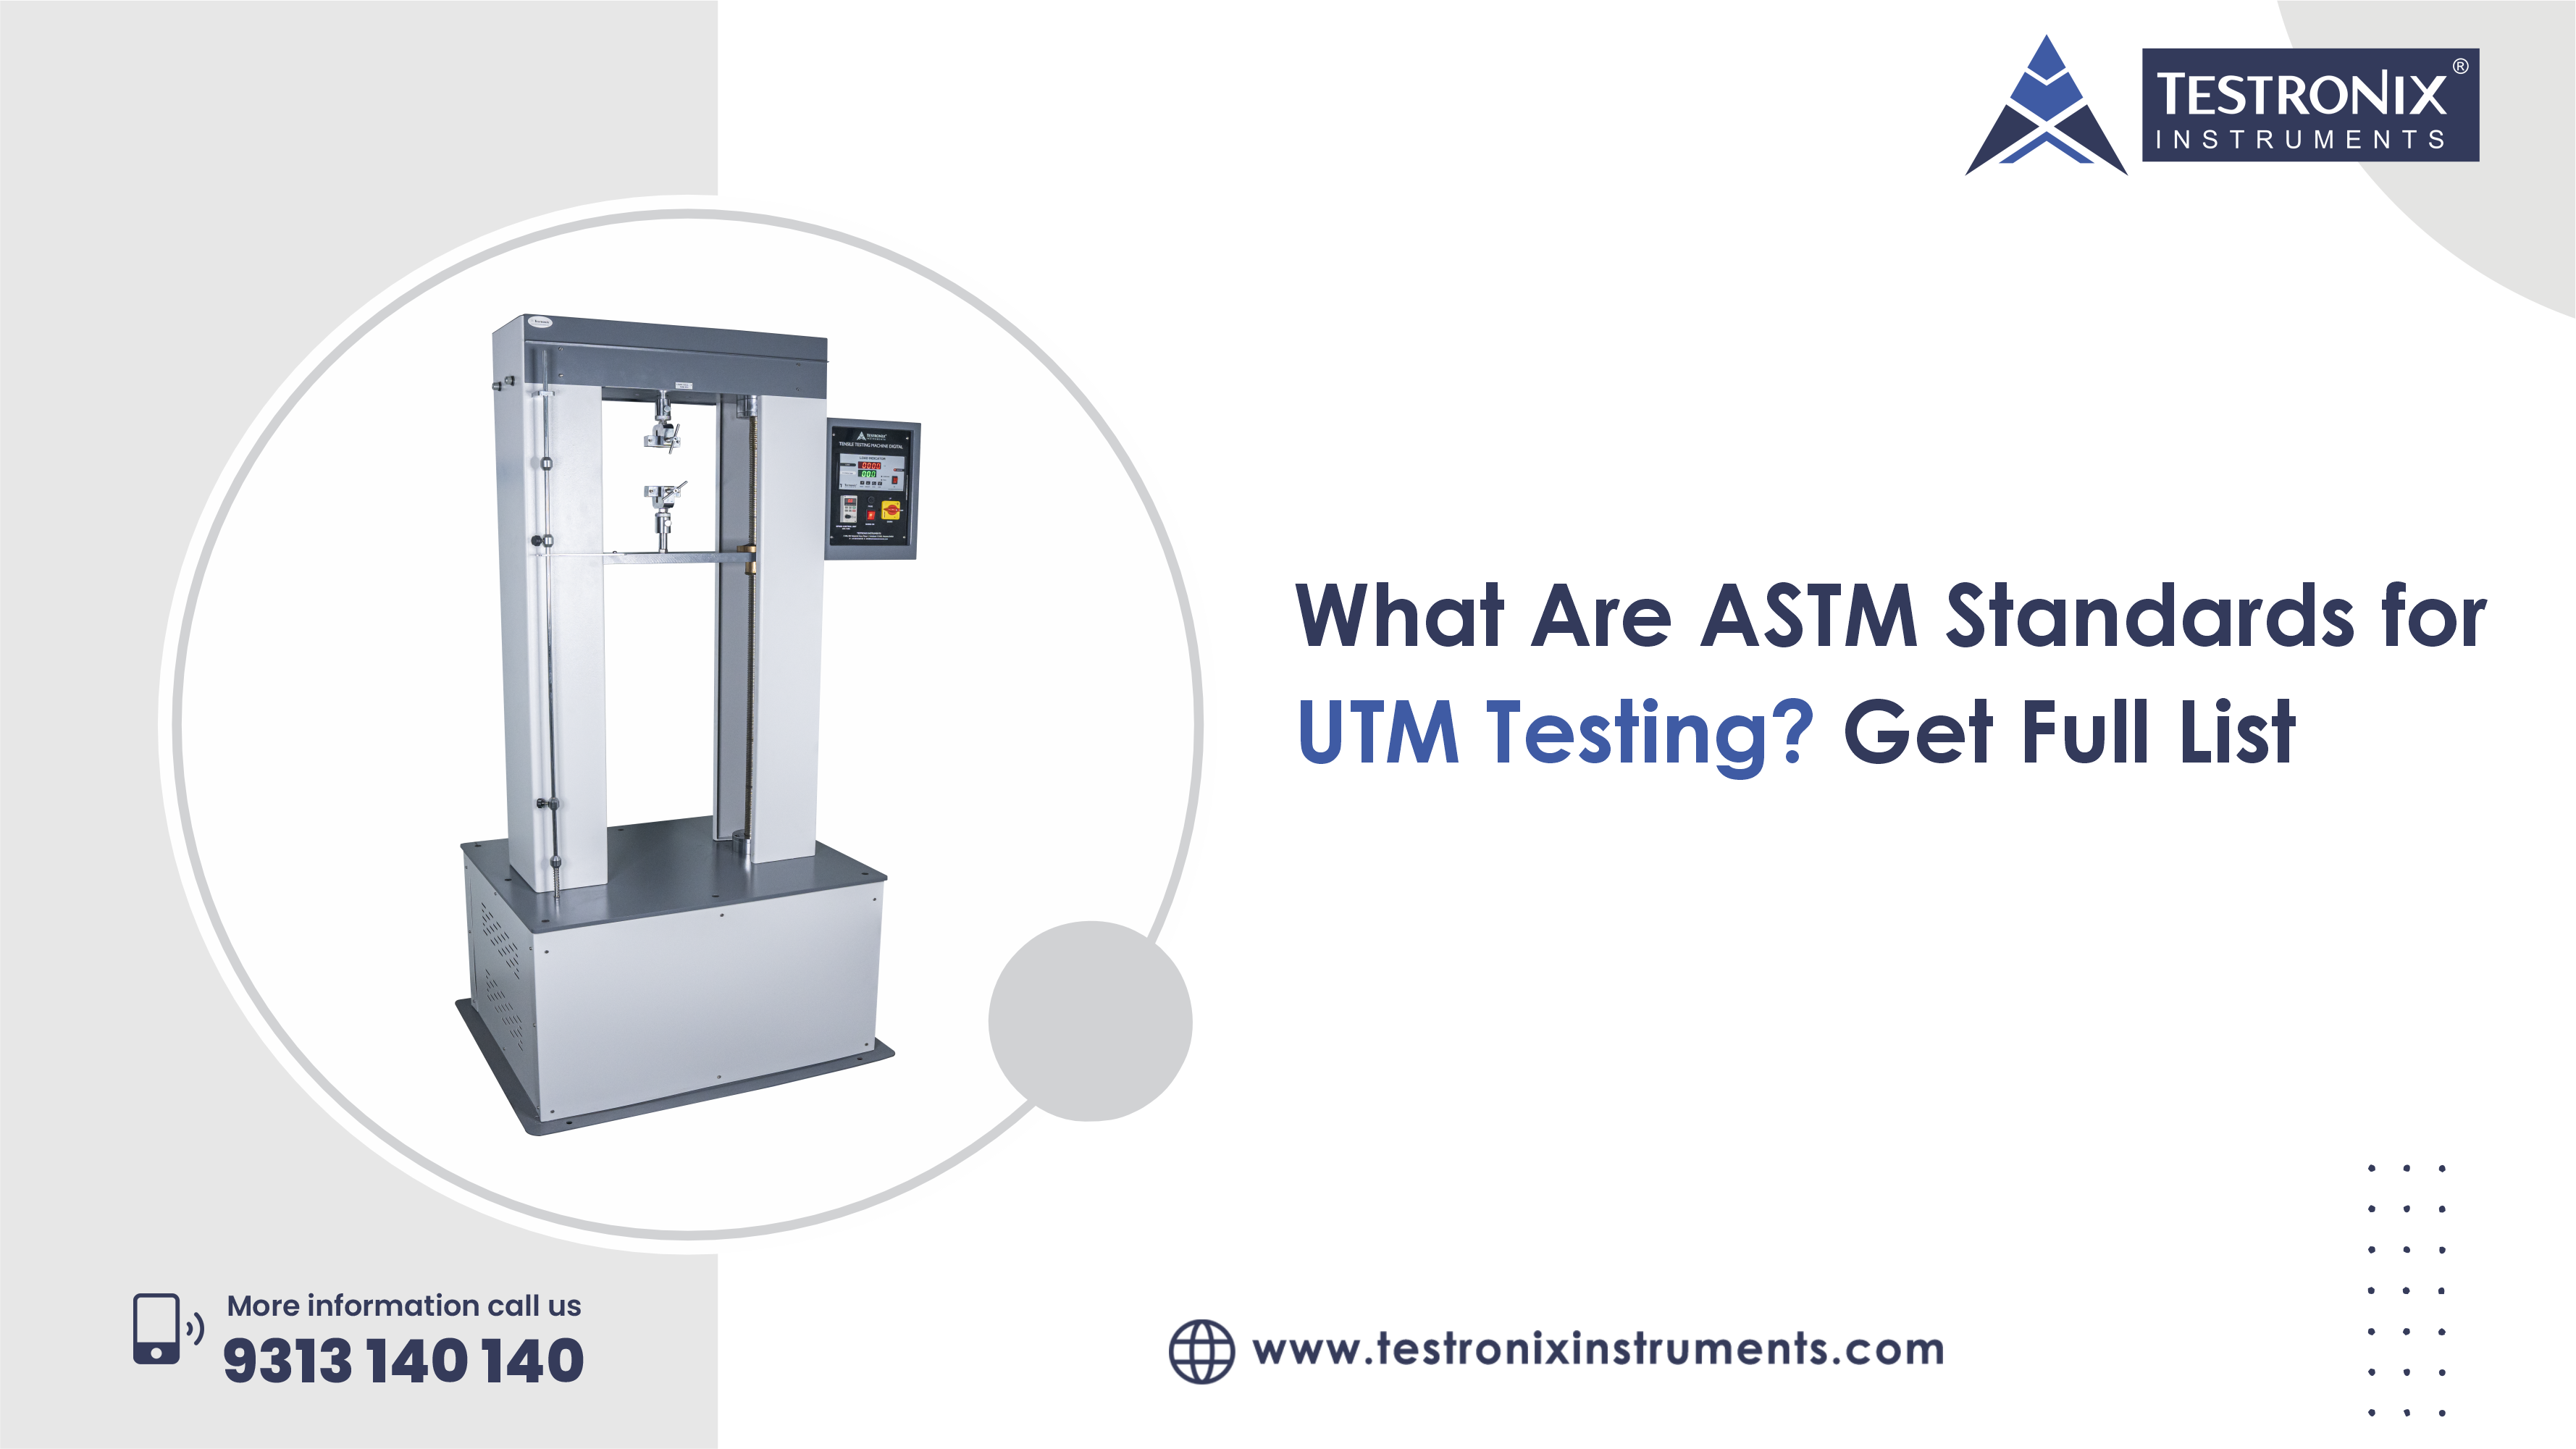
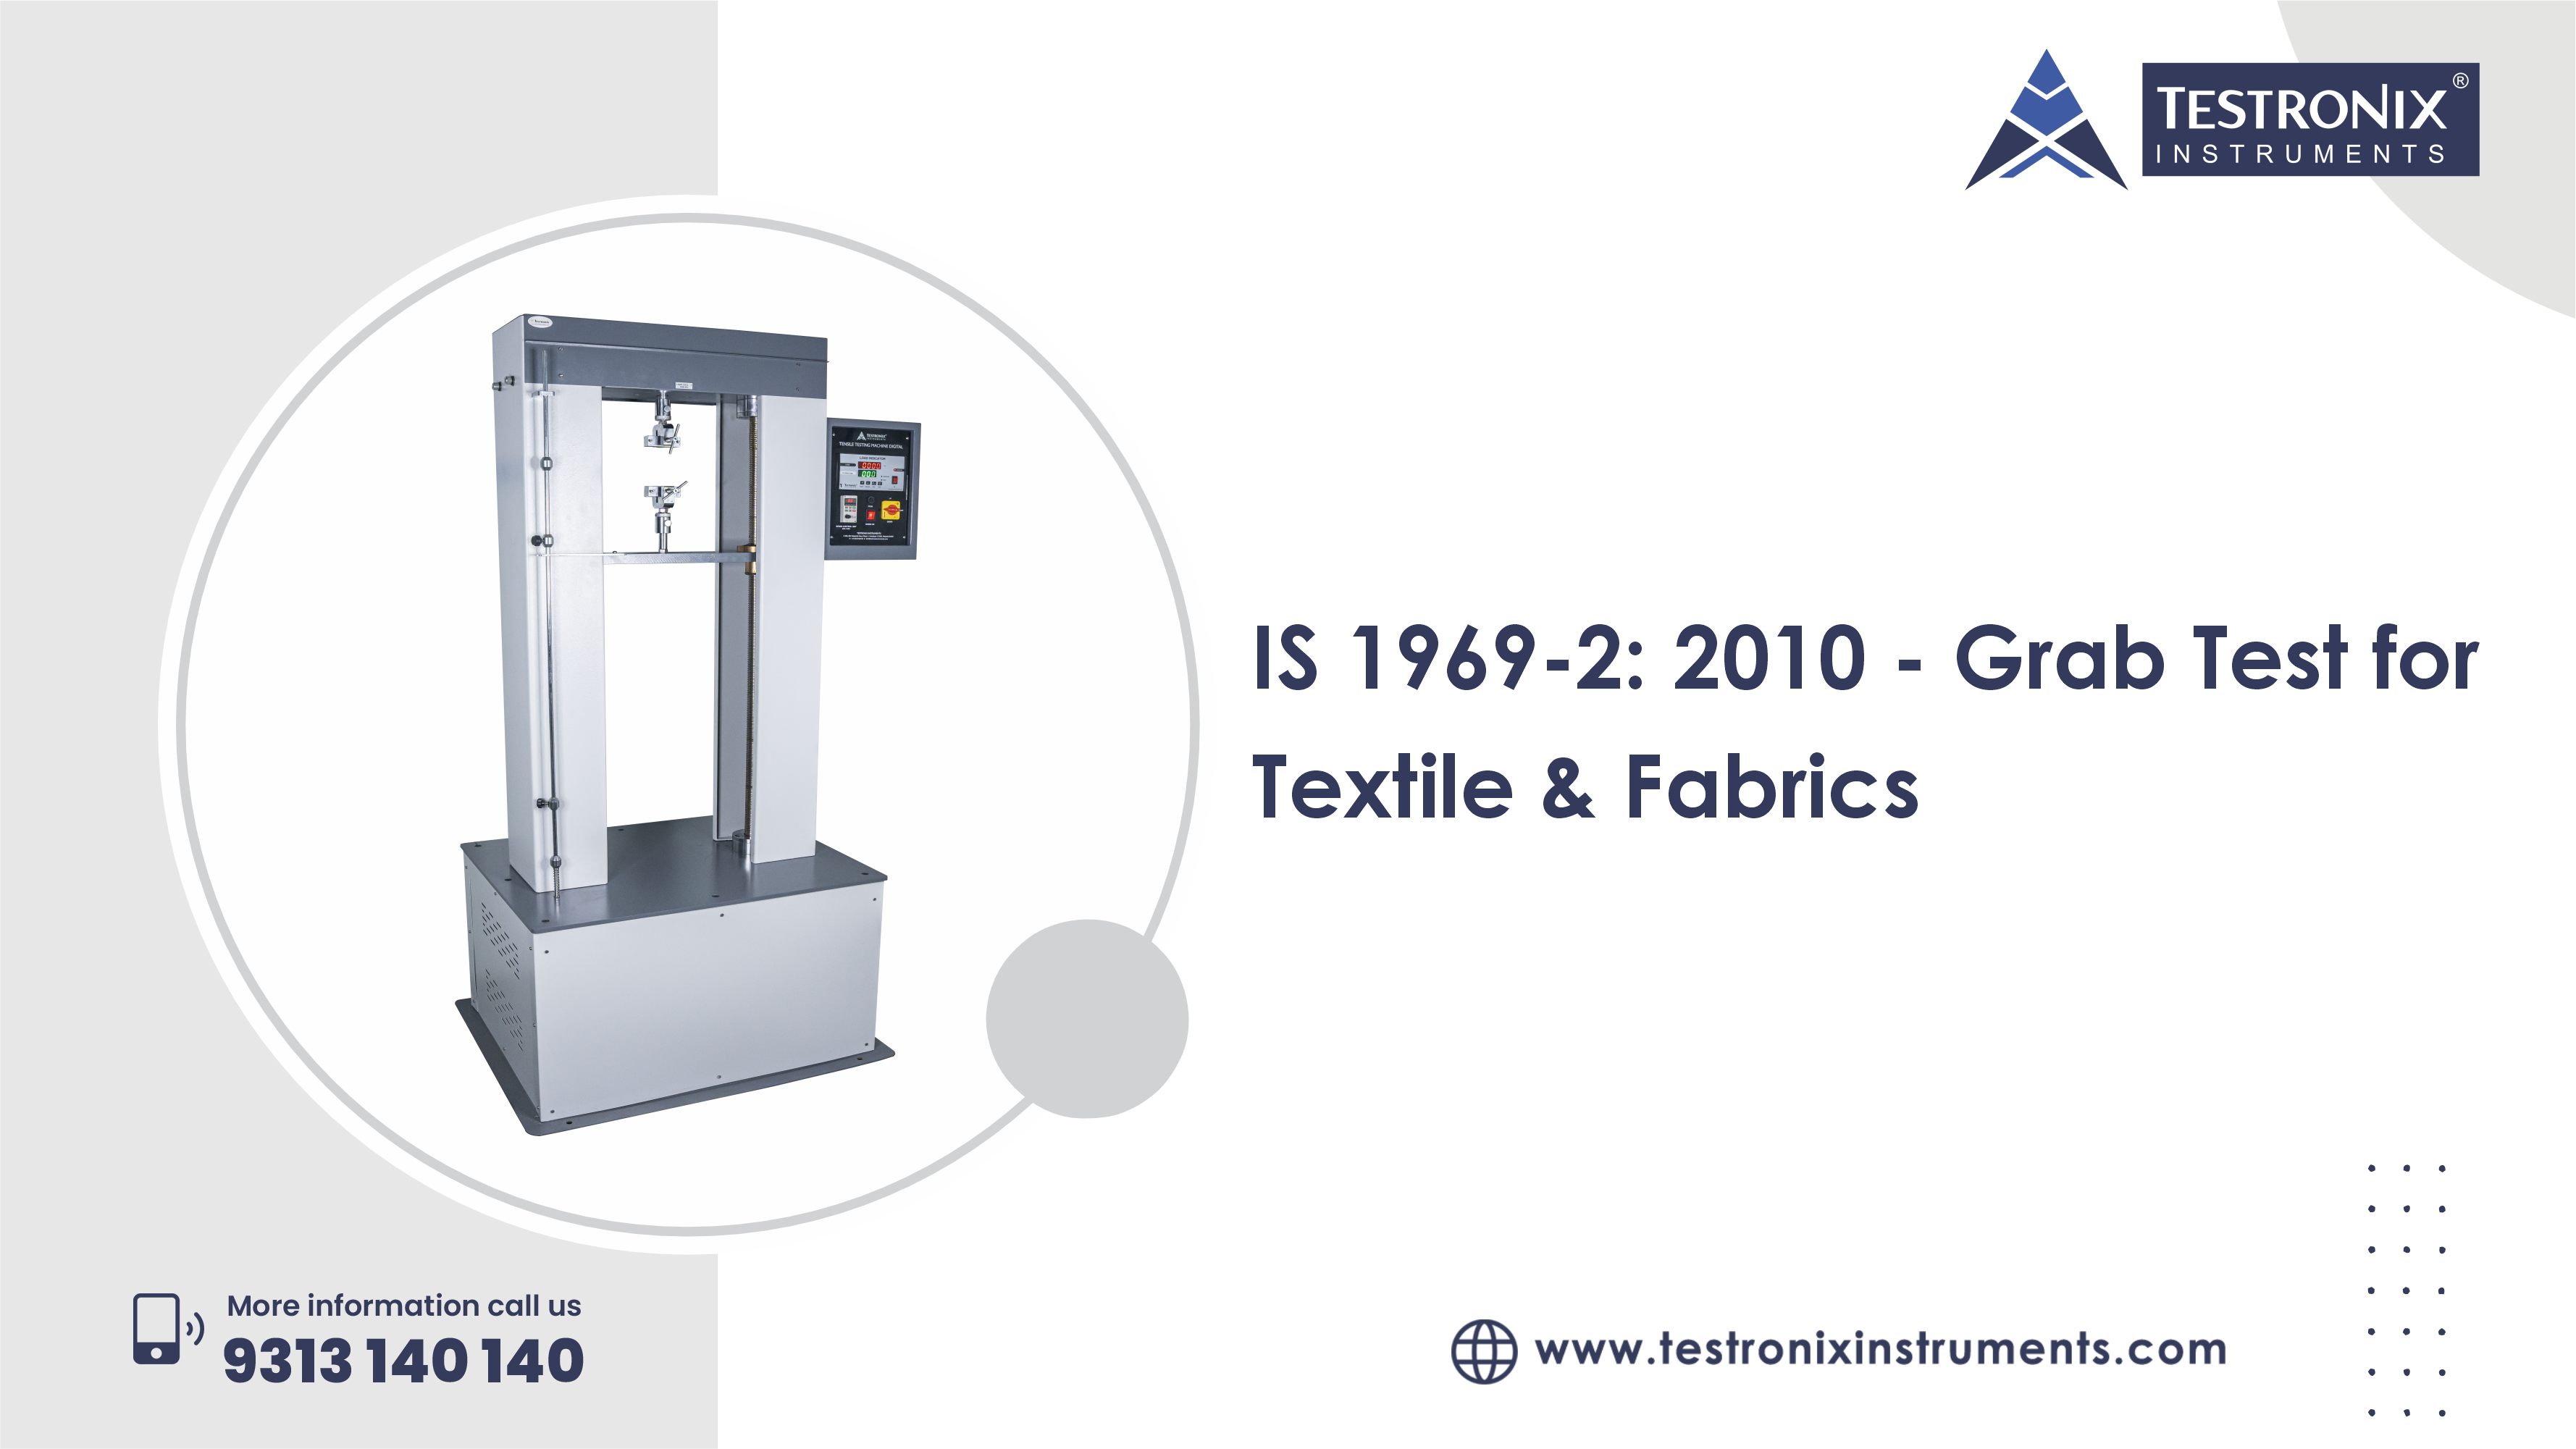
Running IS 1969-2:2010 repeatedly requires an instrument built to handle rigid jaw dimensions and consistent extension speeds. The Testronix Universal Testing Machine (UTM) is designed to meet the following requirements of a textile lab:
-
Precision Motion Control: Our instrument is designed with precise motion control. The crosshead speeds are controlled by microprocessors to maintain constant speeds and avoid jerky pulls that tend to distort peak strength figures.
-
Standard-Compliant Jaw Options: The Testronix advanced jaw options in UTM machines fit easily with prescribed hardened serrated or rubberized jaw faces to stop sample slippage without crushing delicate yarn structures.
-
Digital Load Cell Setup: We revolutionize the load cell setup with advanced digital features. Manufacturers can now use high-resolution force sensors to record subtle tension drops and peak breaking loads accurately.
-
Onboard Reporting: Automatically calculates average breaking force and standard deviation across a 5-sample or 10-sample set, saving manual math time.
Conclusion
The Grab Test, as per IS 1969-2:2010 continues to be one of the most practical methods to test the strength of fabrics as it closely simulates the way materials are subjected to stress, snagging and pulling in actual use. With your sample prep tight, your alignment accurate, and your quality reports reflecting real material performance.
If you are setting up a textile quality lab or updating your current tensile testing equipment, check out the specialized testing setups available from Testronix Instruments. Get connected with our technical team to discuss clamp options, request a quotation, or set up a demonstration with your fabric samples.