When you test material bonds, different forces act on it at different angles, and all are equally essential for an accurate test. One action pulls a flexible strip up off its backing, while another tries to slide two flat surfaces past each other. Pick the wrong test metric for your setup, and parts end up failing unexpectedly in shipping or customer hands.
In this article, we are going to break down what peel strength and shear strength actually mean on the shop floor. We will cover their core formulas, simple practical examples, direct comparisons, and shared traits. You will also see how running reliable tests on proper lab gear keeps your batch quality right where it needs to be.
What Is Peel Strength
Peel strength measures the average force required to progressively separate two bonded materials along a thin line or angle. It shows how well a flexible substrate resists peeling away from a rigid or semi-rigid backing.
In simple terms, think about stripping a piece of tape off a cardboard box. You aren't breaking the whole sticky area at the exact same instant. All that pulling force lands directly on the narrow line where the tape lifts off. Because the stress stays concentrated on a tiny edge, adhesives almost always give way much faster under peel forces than under flat sliding forces.
Such measurement is quite important in flexible packaging, protective films, medical dressings, and lamination of bags. If the peel force is too small, products will break down in stores. If it's too much, customers will not be able to open a snack without shredding the package to pieces.
Formula for Peel Strength
Calculating peel strength relies on a simple relationship between force and width:
P = F/w
Here is what those variables stand for:
-
P represents the peel strength (measured in N/mm, kN/m, or lbf/in)
-
F stands for the peak or average force registered during the peel run (in Newtons or pounds-force)
-
w equals the width of your test specimen (in millimeters or inches)
During standard lab checks, you pull the flexible strip at a set angle, usually 90 or 180 degrees. The testing rig logs the force as the material peels back, taking that average load and dividing it by the sample width.
Example of Peel Strength
Say you are checking a 25 mm wide strip of adhesive tape stuck to a flat steel plate. The tester grips the end and pulls it back flat at 180 degrees at a uniform speed. Over the course of the test run, the machine records an average pull force of 15 Newtons.
The driven force value of 15 N is divided by 25 mm. This yields a peel strength of 0.6 N/mm. These values are used by quality teams to test incoming batches of chemicals to see if they are within required specifications.
What Is Shear Strength
Shear strength measures the maximum force an adhesive or bonded joint can withstand when forces try to slide the attached surfaces parallel to one another in opposite directions. It evaluates resistance against sliding or shearing stress across the entire bonded surface area.
This measurement is an indication of how long a joint will last when pulled side to side. When the load is applied, the load is distributed over the entire area instead of being concentrated on a small edge. This means that shear-loaded joints can carry larger total forces before failure.
Shear testing comes up constantly for structural adhesives in car panels, building lap joints, aircraft parts, and heavy-duty mounting tapes. In these setups, keeping parts firmly in position under heavy sideways stress keeps the whole build safe.
Formula for Shear Strength
Working out shear strength means factoring in the total contact area:
τ = F/A
The terms break down like this:
-
τ gives the shear strength (expressed in Megapascals, N/mm2, or PSI)
-
F is the maximum load registered right when the joint snaps (in Newtons or pounds-force)
-
A is the total overlapping surface area of your bond (in mm2 or square inches)
For a basic single lap joint, calculate A by multiplying the overlap length by the sample width.
Example of Shear Strength
Imagine two aluminum strips joined together with epoxy adhesive in a lap joint. The dimensions of the glued overlap are 20 mm x 25 mm, which is equal to 500 mm².
The strips are then placed in a tensile testing machine and pulled apart. The force should be exerted at the end of the joints to remove the glue and the force is measured when the joints are separated. To achieve the desired outcomes, the bond will eventually fail at a maximum load gauge of 5000 N. 10 N/mm2 (10 MPa). 500 mm2 x 5,000 N and the test is completed.
Peel Strength vs Shear Strength: What is the Difference?
Peel strength focuses high stress along a single advancing line, whereas shear strength distributes stress across the entire surface area.
|
Feature |
Peel Strength |
Shear Strength |
|
Force Direction |
Pulled at an angle (typically 90° or 180°) away from the backing |
Pulled parallel along the plane of the bonded surface |
|
Stress Area |
Concentrated on a thin, moving line |
Distributed over the entire contact area |
|
Material Types |
Needs at least one flexible layer to work |
Best suited for rigid or semi-rigid materials |
|
Standard Units |
Force per width unit (N/mm or lbf/in) |
Force per area unit (MPa or PSI) |
|
Failure Type |
Line-by-line unzipping action |
Sudden sliding break across the full surface |
|
Common Uses |
Package seals, medical tapes, pouch laminates, stickers |
Structural lap joints, auto body panels, metal assembly |
Similarity in Peel Strength and Shear Strength
Despite their differences in force direction, peel and shear testing rest on the same underlying engineering basics. Both methods give lab techs vital data needed to predict how a material holds up out in the real world.
Rating Overall Bond Quality
Both values act as core checkpoints for glued materials. They tell you how firmly an adhesive grips two surfaces when external pulling forces kick in. Engineering teams rely on both numbers to confirm whether a glue mix can handle long-term field stress.
Reliance on Clean Surfaces
Surface prep makes or breaks both strength results. Leftover oil, dust, or moisture weakens the bond surface regardless of whether you test in shear or peel modes. Thorough cleaning, light sanding, and proper primers raise your readings across both test types.
Reaction to Environment
Heat and humidity knock down both test numbers. High ambient temperatures soften polymer backings and glues, which drops both peel and shear limits. Water exposure or chemical fumes degrade materials over time, so conditioning samples first remains crucial for both methods.
Strict Test Rules
Official standard methods govern both testing processes to keep lab readings consistent everywhere. Guidelines from bodies like ASTM or ISO spell out jaw speeds, sample sizes, and clamping setups for both tests. Sticking to those rules means your numbers match up with outside lab results.
Destructive Test Process
Both tests require pulling actual production samples until they break apart completely. Whether you are lifting a tape edge or shearing a metal lap joint, the sample gets destroyed during the run. The resulting force curves help tech teams fine-tune future production runs.
Testronix Peel Tester: Best Equipment for Material Strength
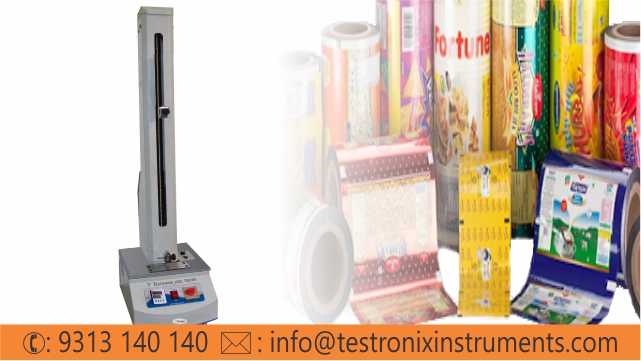
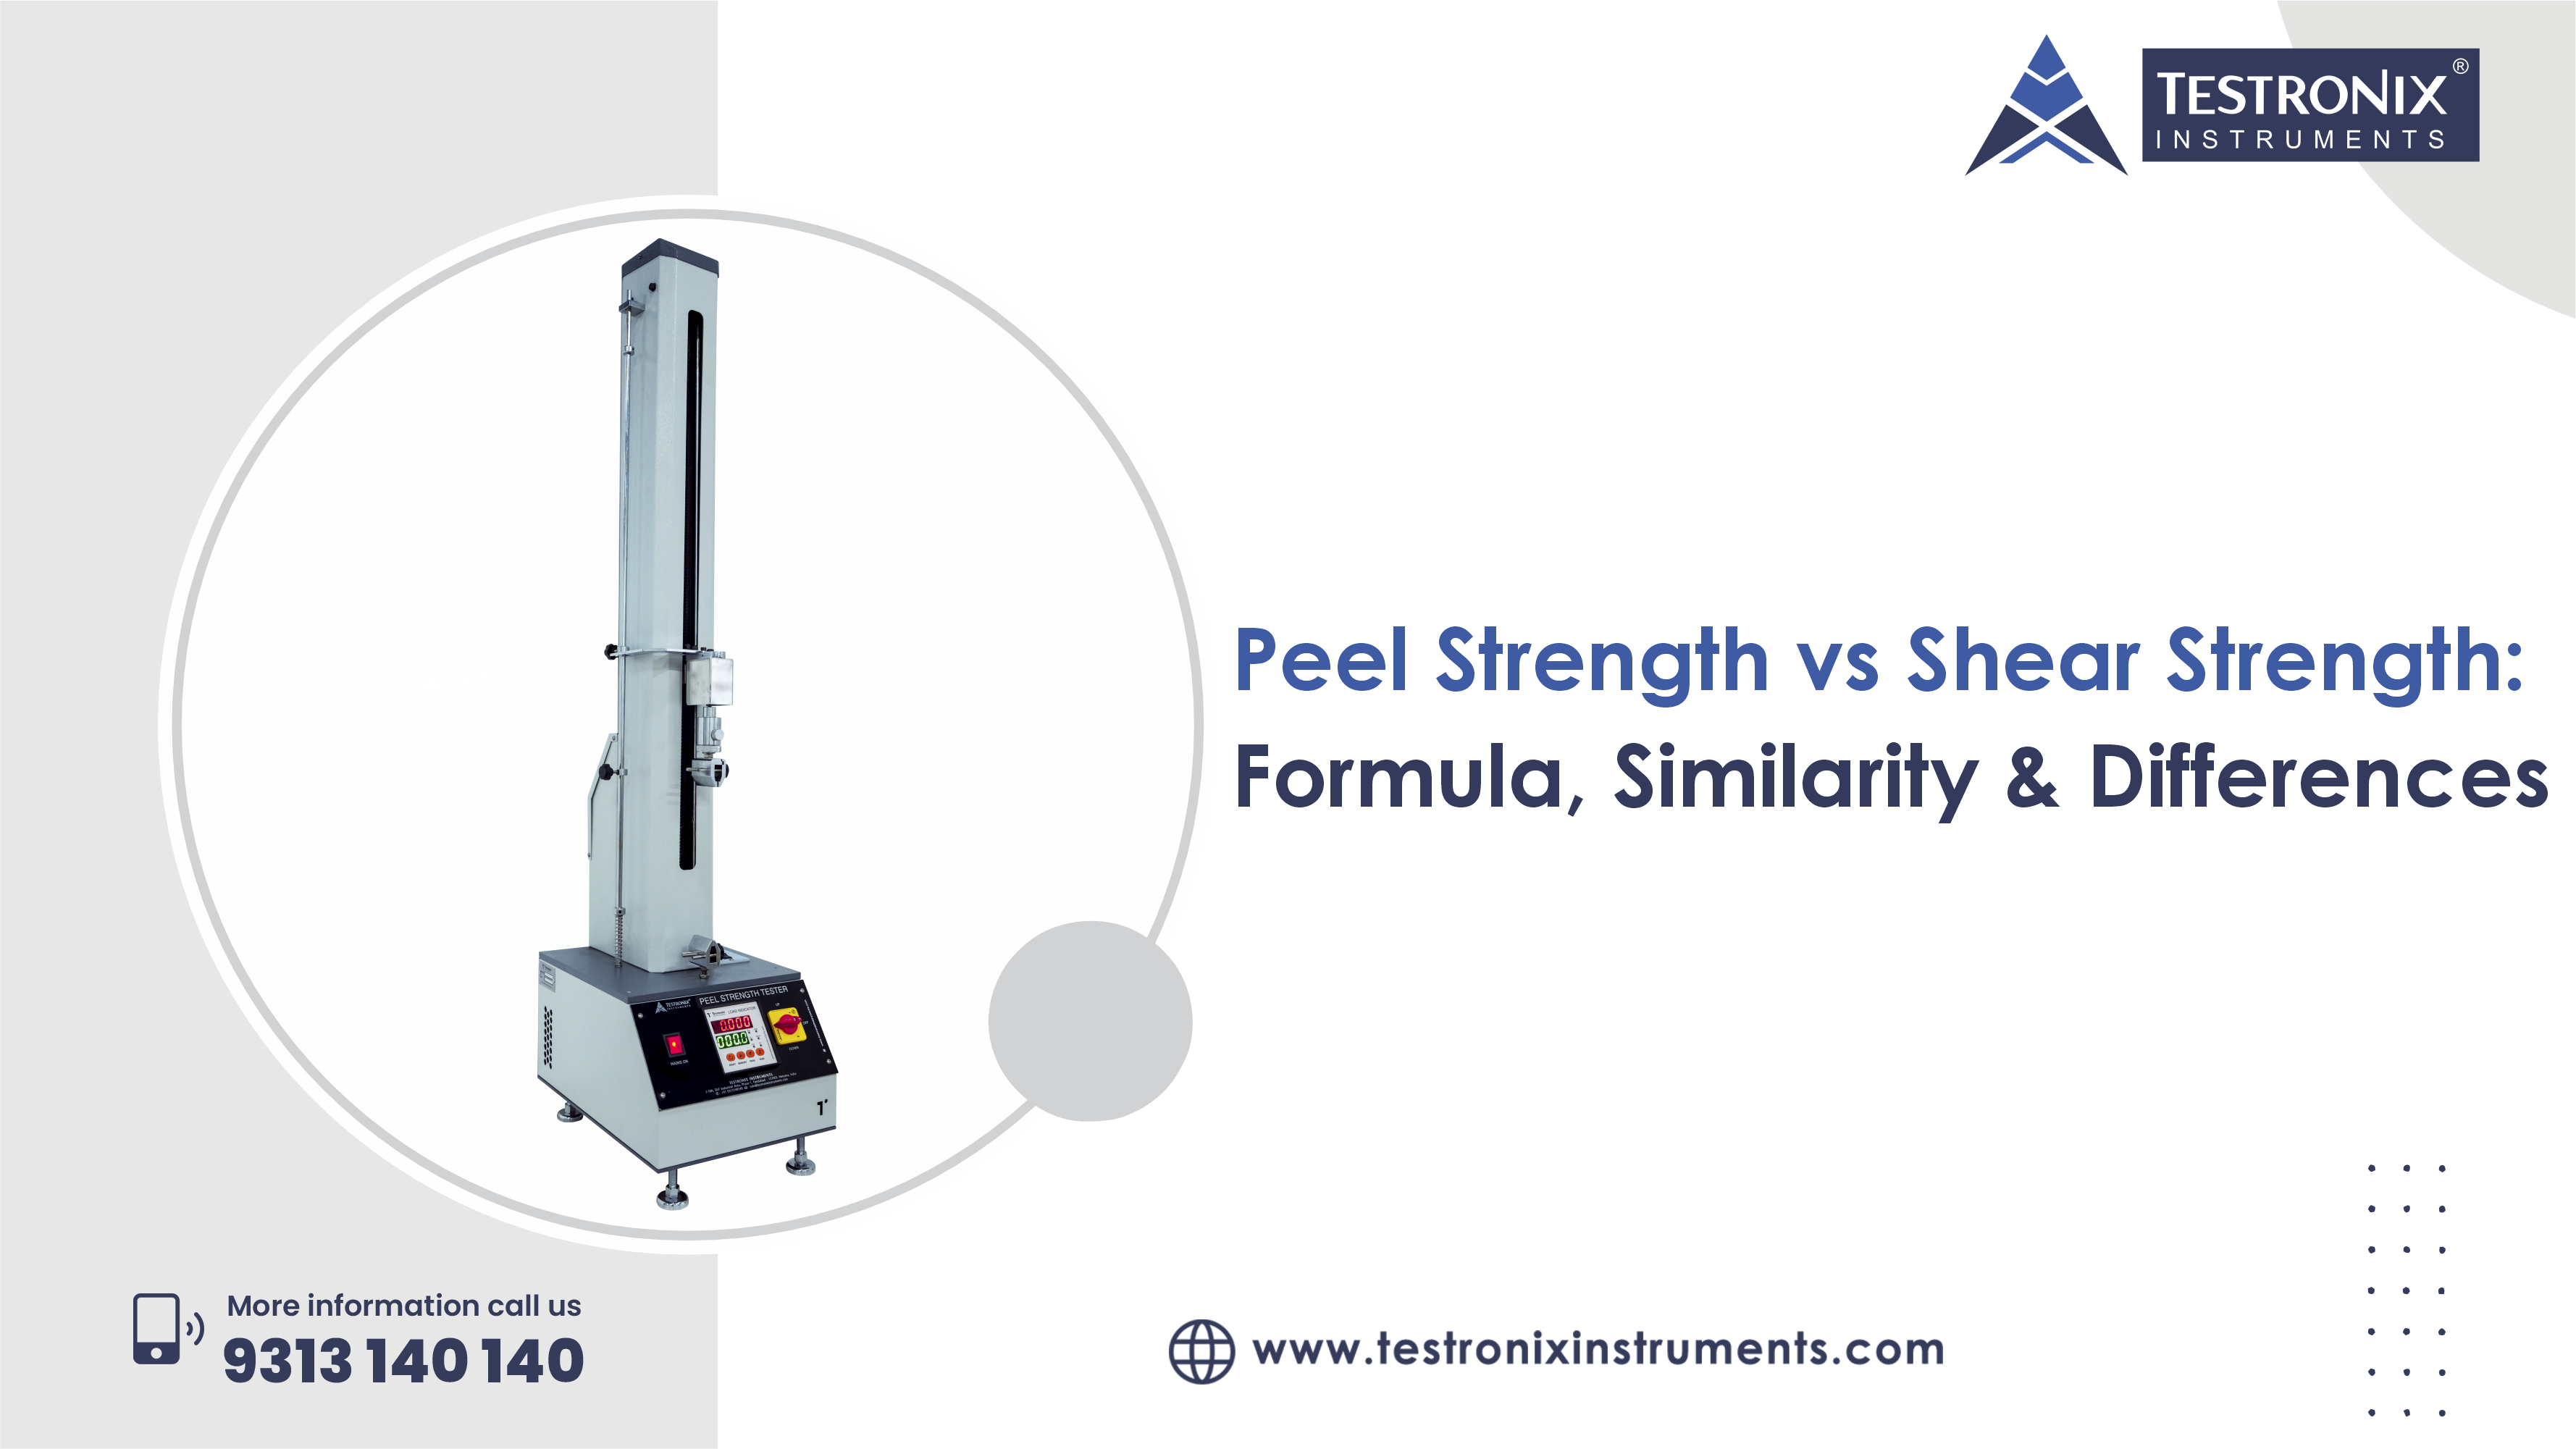
Testronix Peel Tester is advanced and reliable equipment to specifically measure peel, seal, and adhesion qualities across films, foils, and pressure-sensitive tapes. Built with a high-accuracy load cell, a precise digital readout, and a rigid frame, our peel tester cuts out mechanical play while load is applied. Our testing equipment strictly follows the guidelines of ISO and BIS standards.
Manufacturers can swap between standard pull angles quickly to match real usage conditions on the floor. Instant peak load readouts let lab techs catch bad material lots long before full shipments go out the door. Putting a dependable machine like the Testronix Peel Tester on your bench helps production teams head off customer complaints caused by weak package seals or failing adhesive backing.
Conclusion
Understanding the differences between peel and shear strength allows you to avoid costly mistakes when designing your product. While shear strength measures resistance against horizontal sliding load, peel strength looks at separate lines at the edge. Knowing both metrics gives you the entire picture of how your adhesive will perform in practice.
Keeping batch quality stable means backing up your lab with hardware you can count on every day. Running your test samples on purpose-built gear from Testronix Instrument helps ensure your builds pass industry checks every single time. Reach out to us to upgrade your lab setup with the right plastic testing equipment and keep your material testing tight.